AP Entry
These instructions are for Navigator Accounts Payable. For information on Accounts Payable in the Green Screen (AS400), click here.
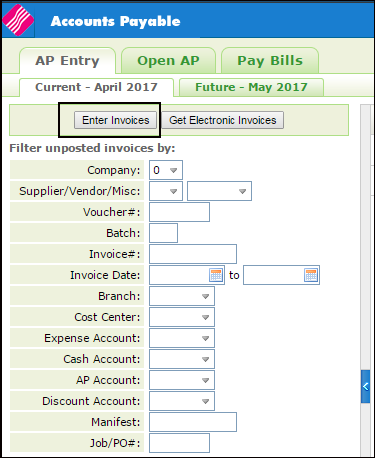
- From the AP Entry window, click Enter Invoices.

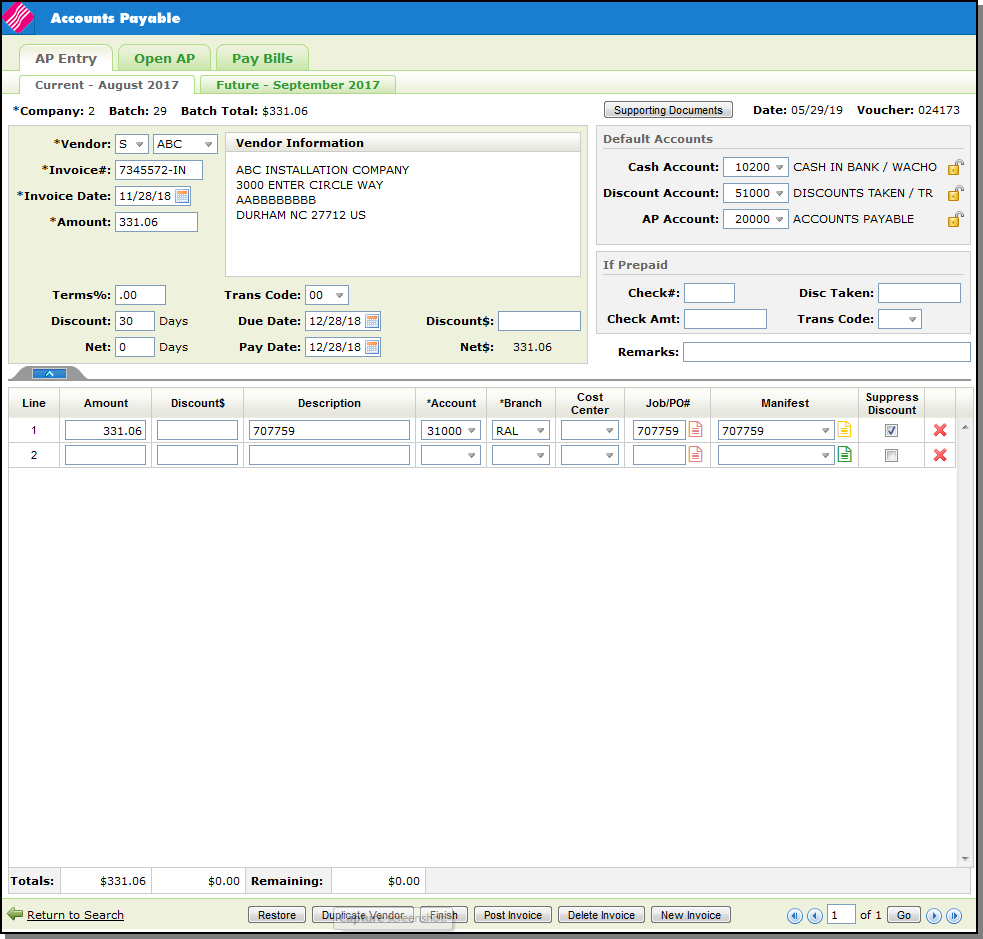
- The Invoice Entry window appears. The only required fields are: Company, Vendor, Invoice#, Invoice Date, Amount and one valid Line.

- The AP & GL Defaults Maintenance File (menu option ACT 109) contains the following settings that affect Navigator AP:
- Default Branch & Cost Center in NAV AP Entry - directs the system to automatically import the default branch and cost center when entering AP transactions in Navigator.
- Auto Fill Branch & Cost Center on invoice lines in NAV AP Entry - Activating this setting directs Navigator AP to insert the same cost center and branch entered on the previous line.Use the fields at the bottom of the screen to enter the voucher payment information.
- Use the fields at the bottom of the screen to enter the voucher payment information. For a detailed description of all the fields and settings, click here.
- After entering the invoice information, you have the following options:
- Duplicate Vendor - Allows you to quickly start a new invoice for the same vendor or supplier by importing in the information such as vendor/supplier number, address, and default accounts.
- Restore - Click the Restore button to change the Invoice Status. The Restore button only applies to Electronic Invoices. When the new status is set, the invoice voucher is moved back to the Electronic Invoice window with the new status displayed.
- Finish - This option returns you to the unposted invoices table where the invoice you just entered is displayed.
- Post Invoice - This option moves the invoice(s) into open AP.
- Delete Invoice - deletes the current voucher.
- New Invoice - This option allows you to enter another invoice for a different vendor/supplier.
